Process
Children's Book
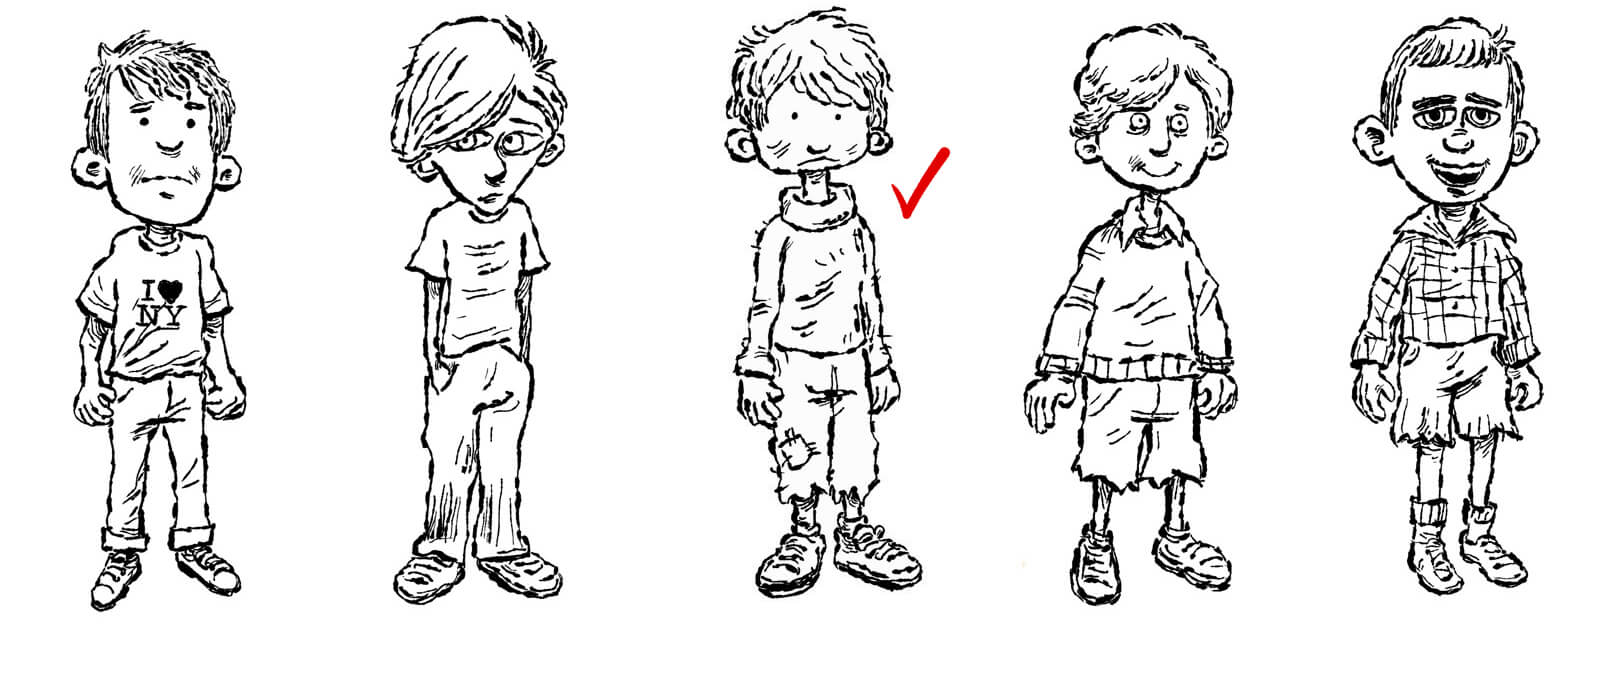
Step 1: Character Design
The process of designing a character for a children's book can be broken down into three steps.
1. Get to know your character. What is his or her personality? What kind of voice does he or she have? How does he or she feel about things in general?
2. Develop a visual representation of your character. Sketch out their appearance, including clothing and accessories if applicable, as well as their facial features and body language. This will help you see how the character looks and acts when they're on paper.
3. Add details that bring the character to life even more—things like their name, what they do for a living, and any other information that might make them unique from other characters in your story.
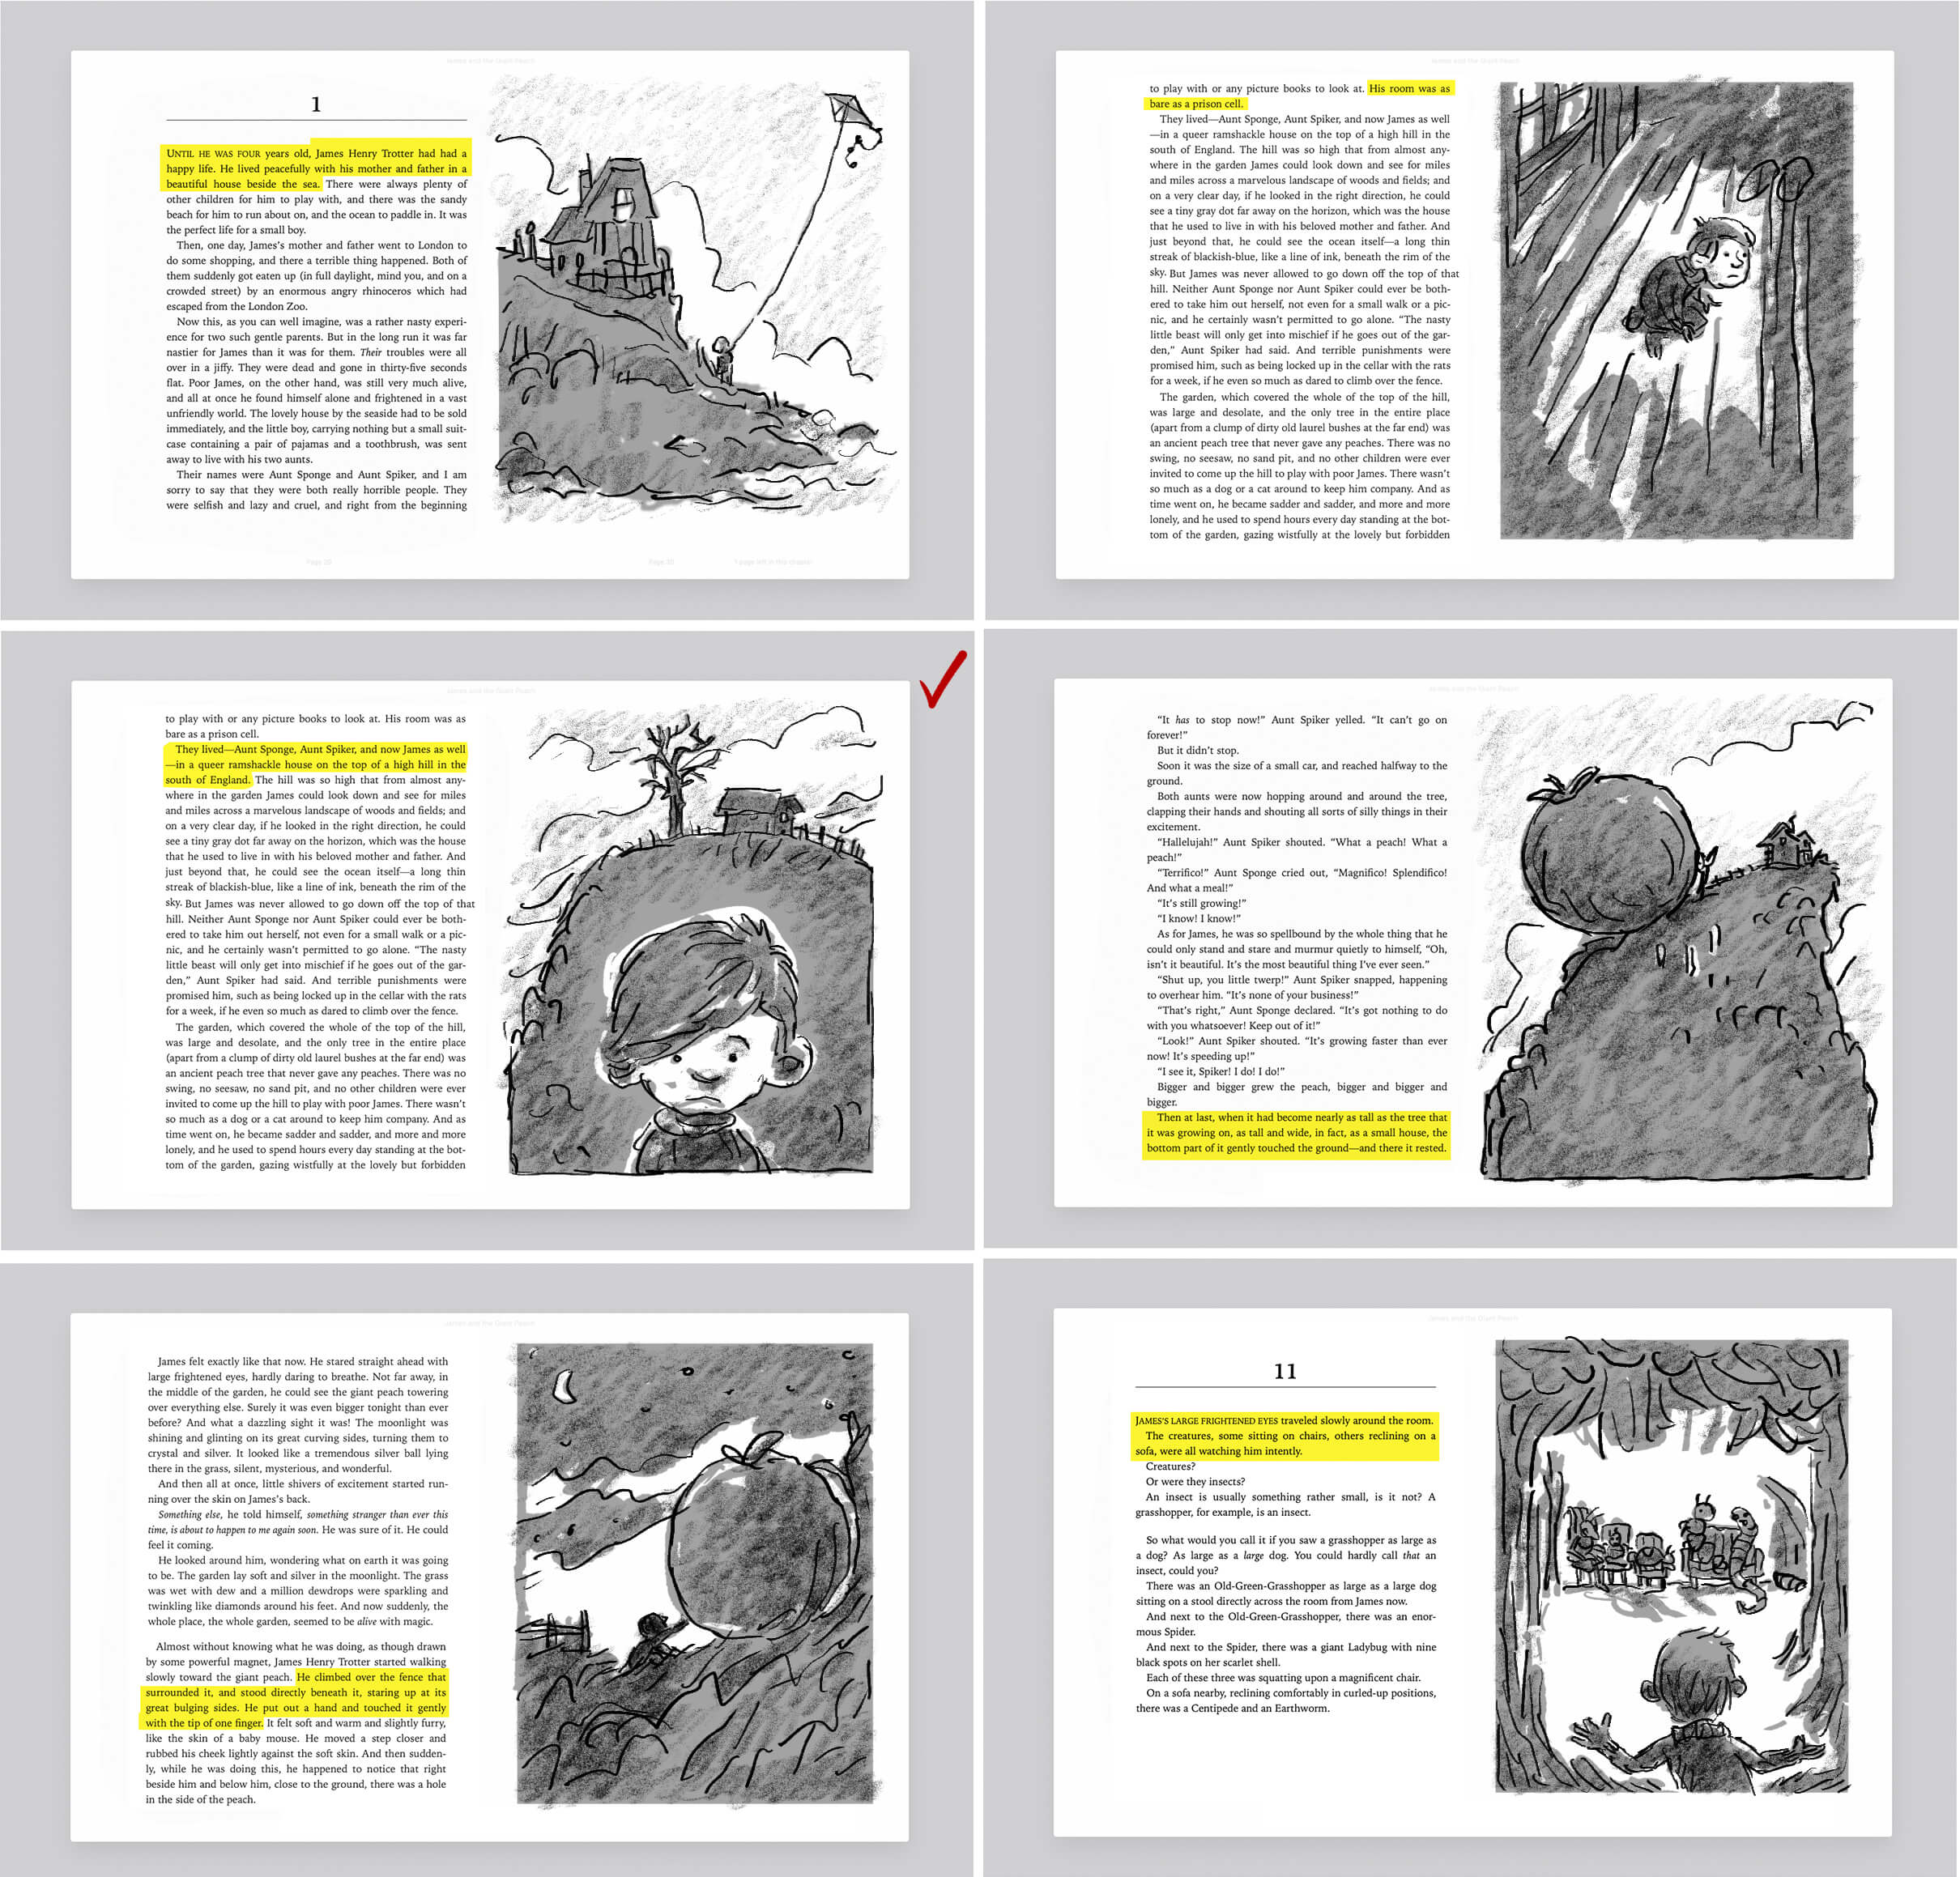
Step 2: Rough Sketch
Keeping it simple. Initial rough drawings are simple lines that show the basic shape of each character and environments. I explore different poses and expressions and think about how the characters would look in different scenarios - will they be happy or sad? Will they feel excited or angry? Trying out different expressions and poses on paper until I find one that works well with the story. This helps me decide which way I want this particular character to move through each scene in your book as well as give insight into how they'll act later on in other chapters.
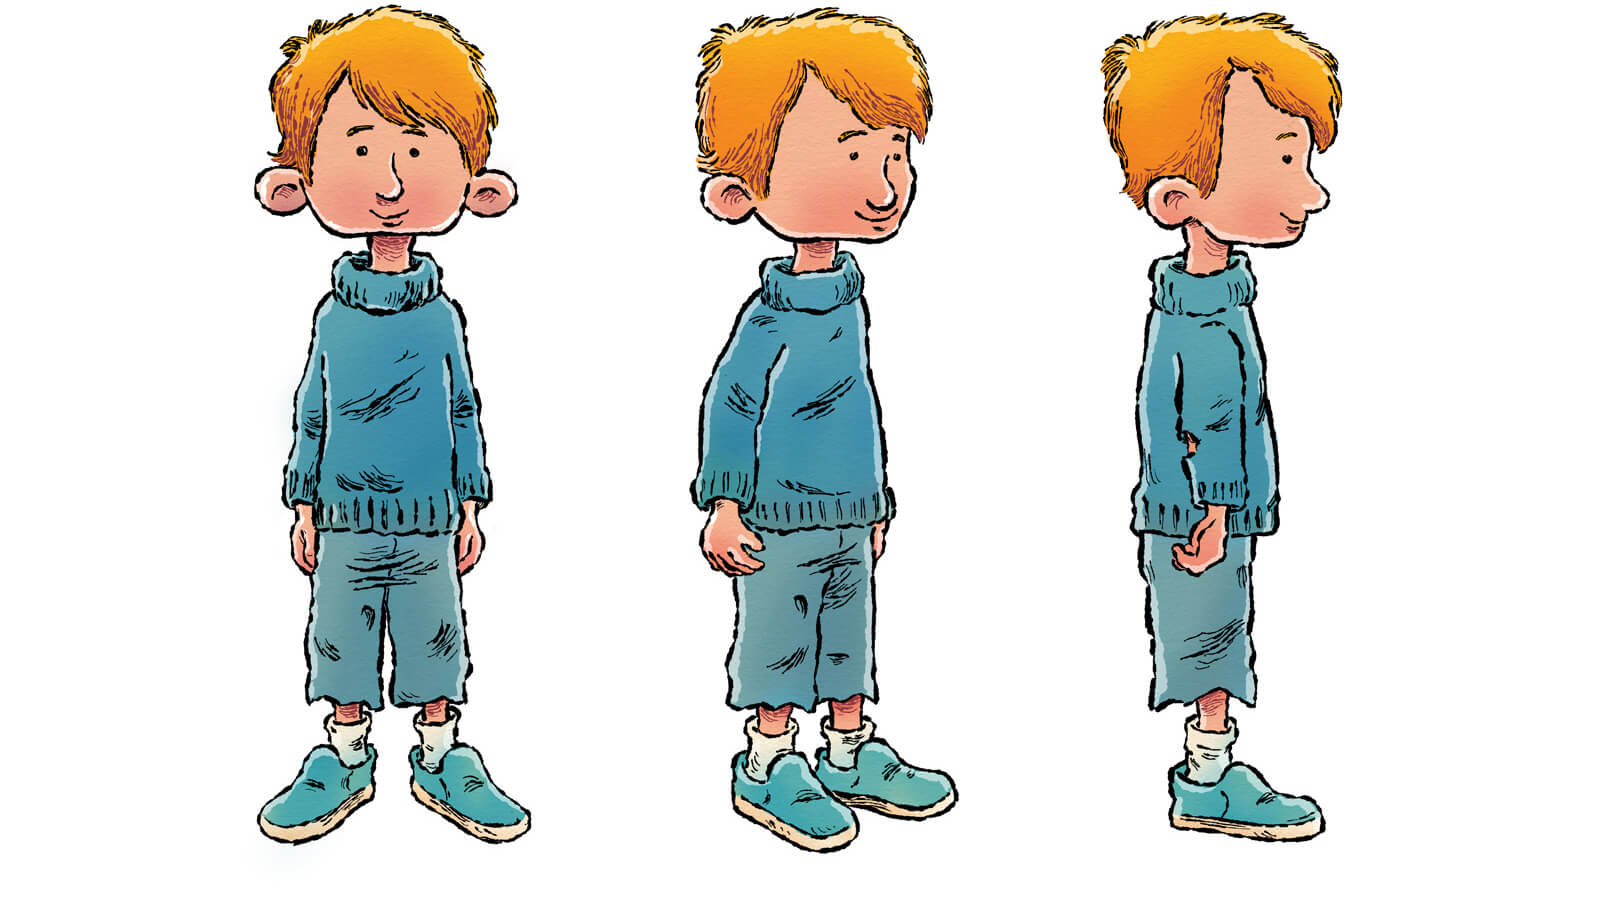
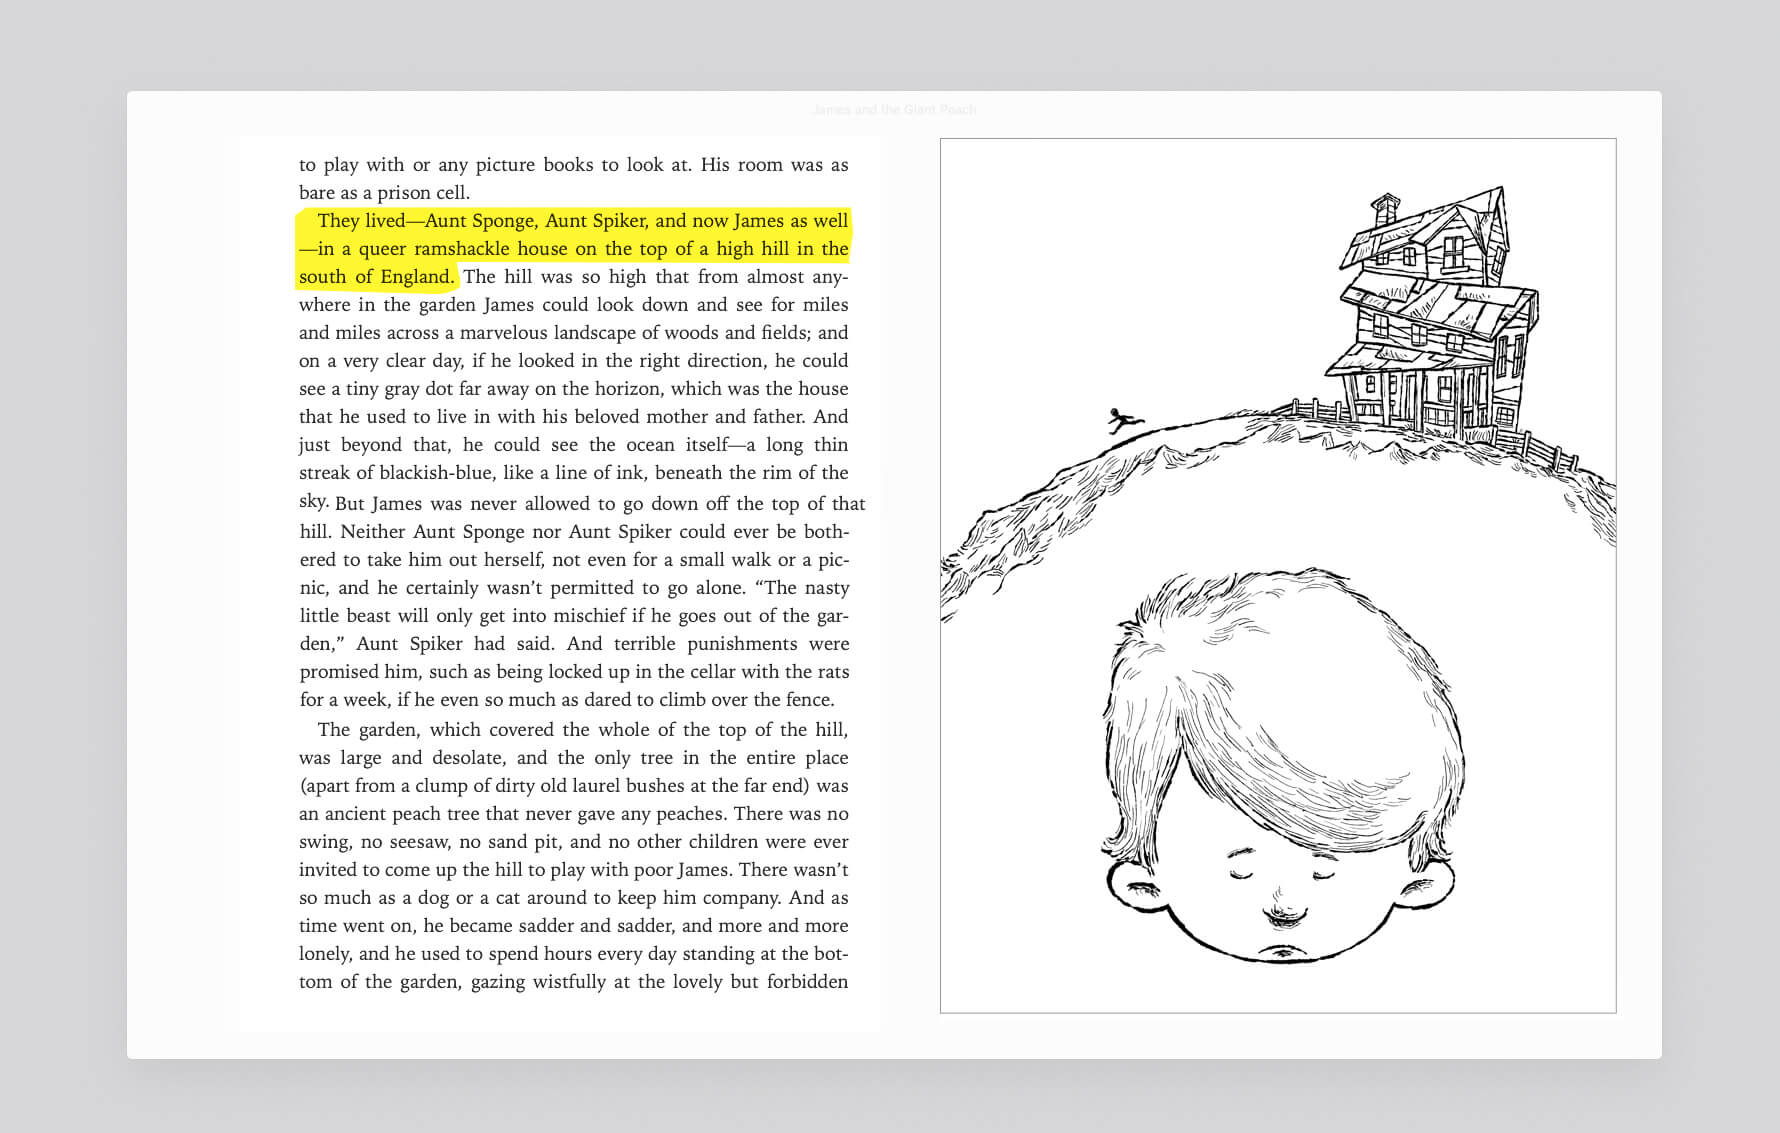
Step 3: Final Line Art
Based on my rough sketch, I develop final line art to help me understand the space, proportions, and how the setting affects the characters' actions.
The goal here is just to get a sense for how each element works together so I can make sure my final illustration has a cohesive look and feel.
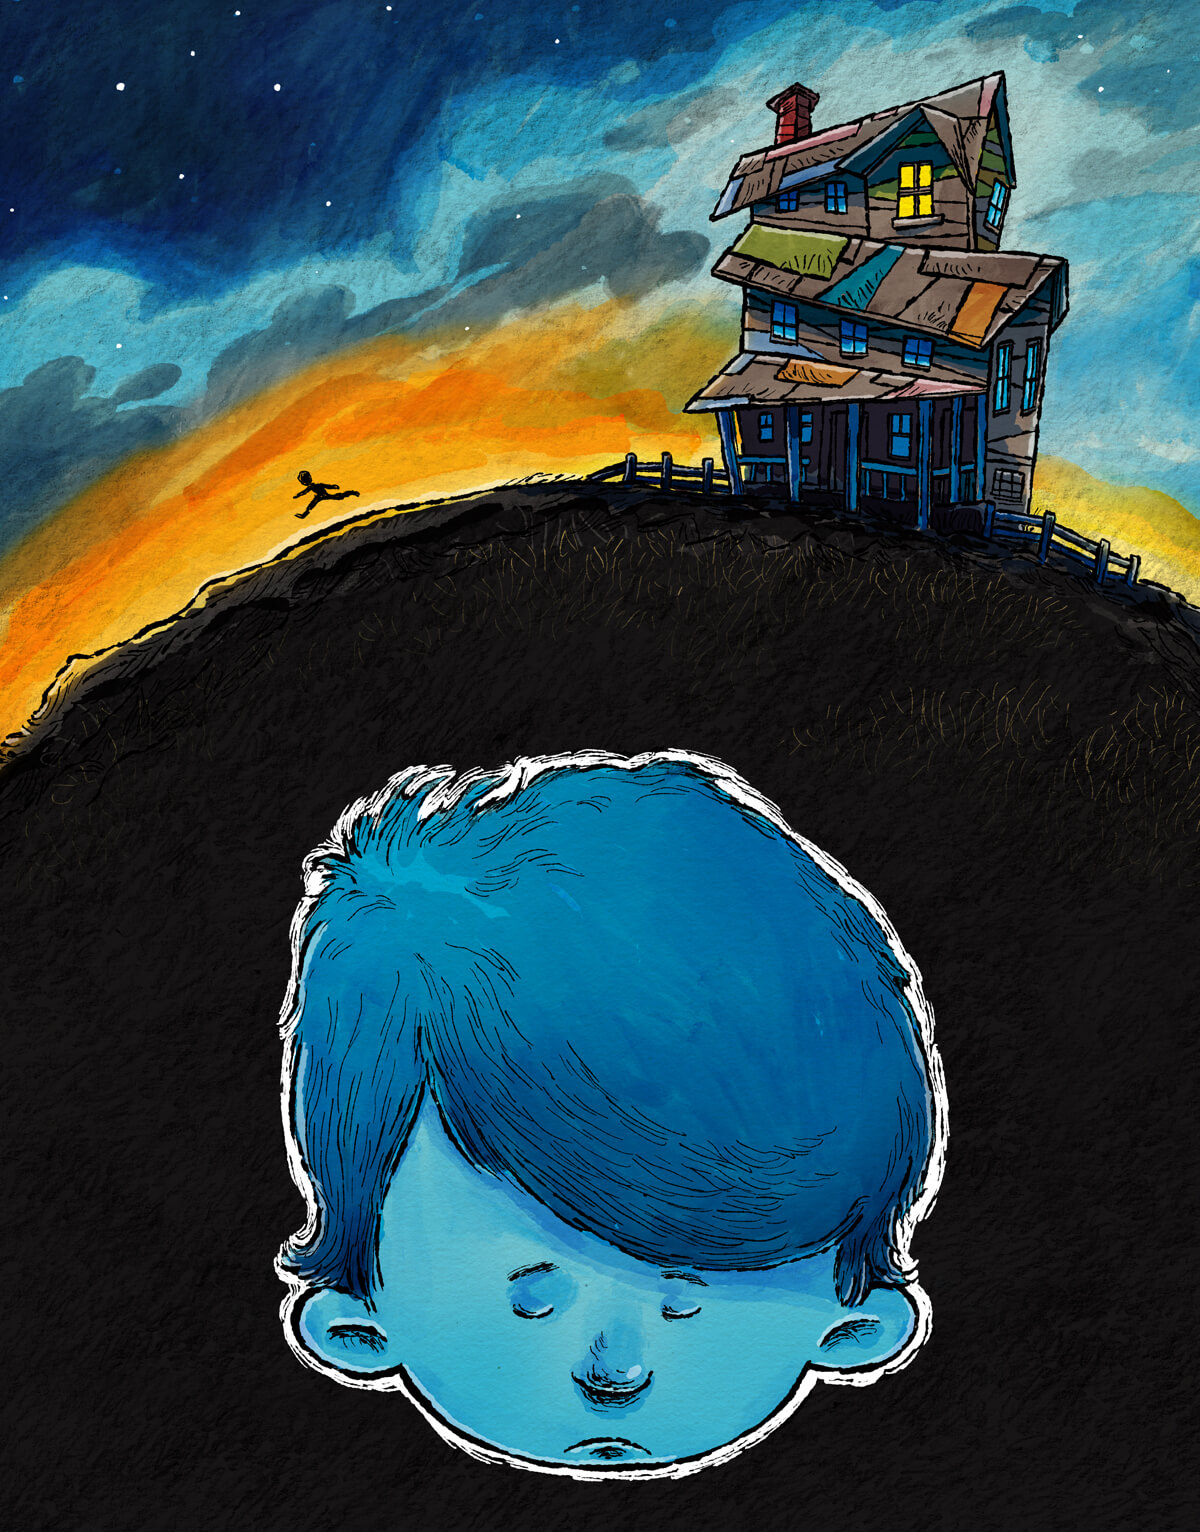
Step 4: Color Tests
Color tests are used to find the tone and mood of the book.
I develop these colors into a palette that I can use throughout the rest of the book's design process.
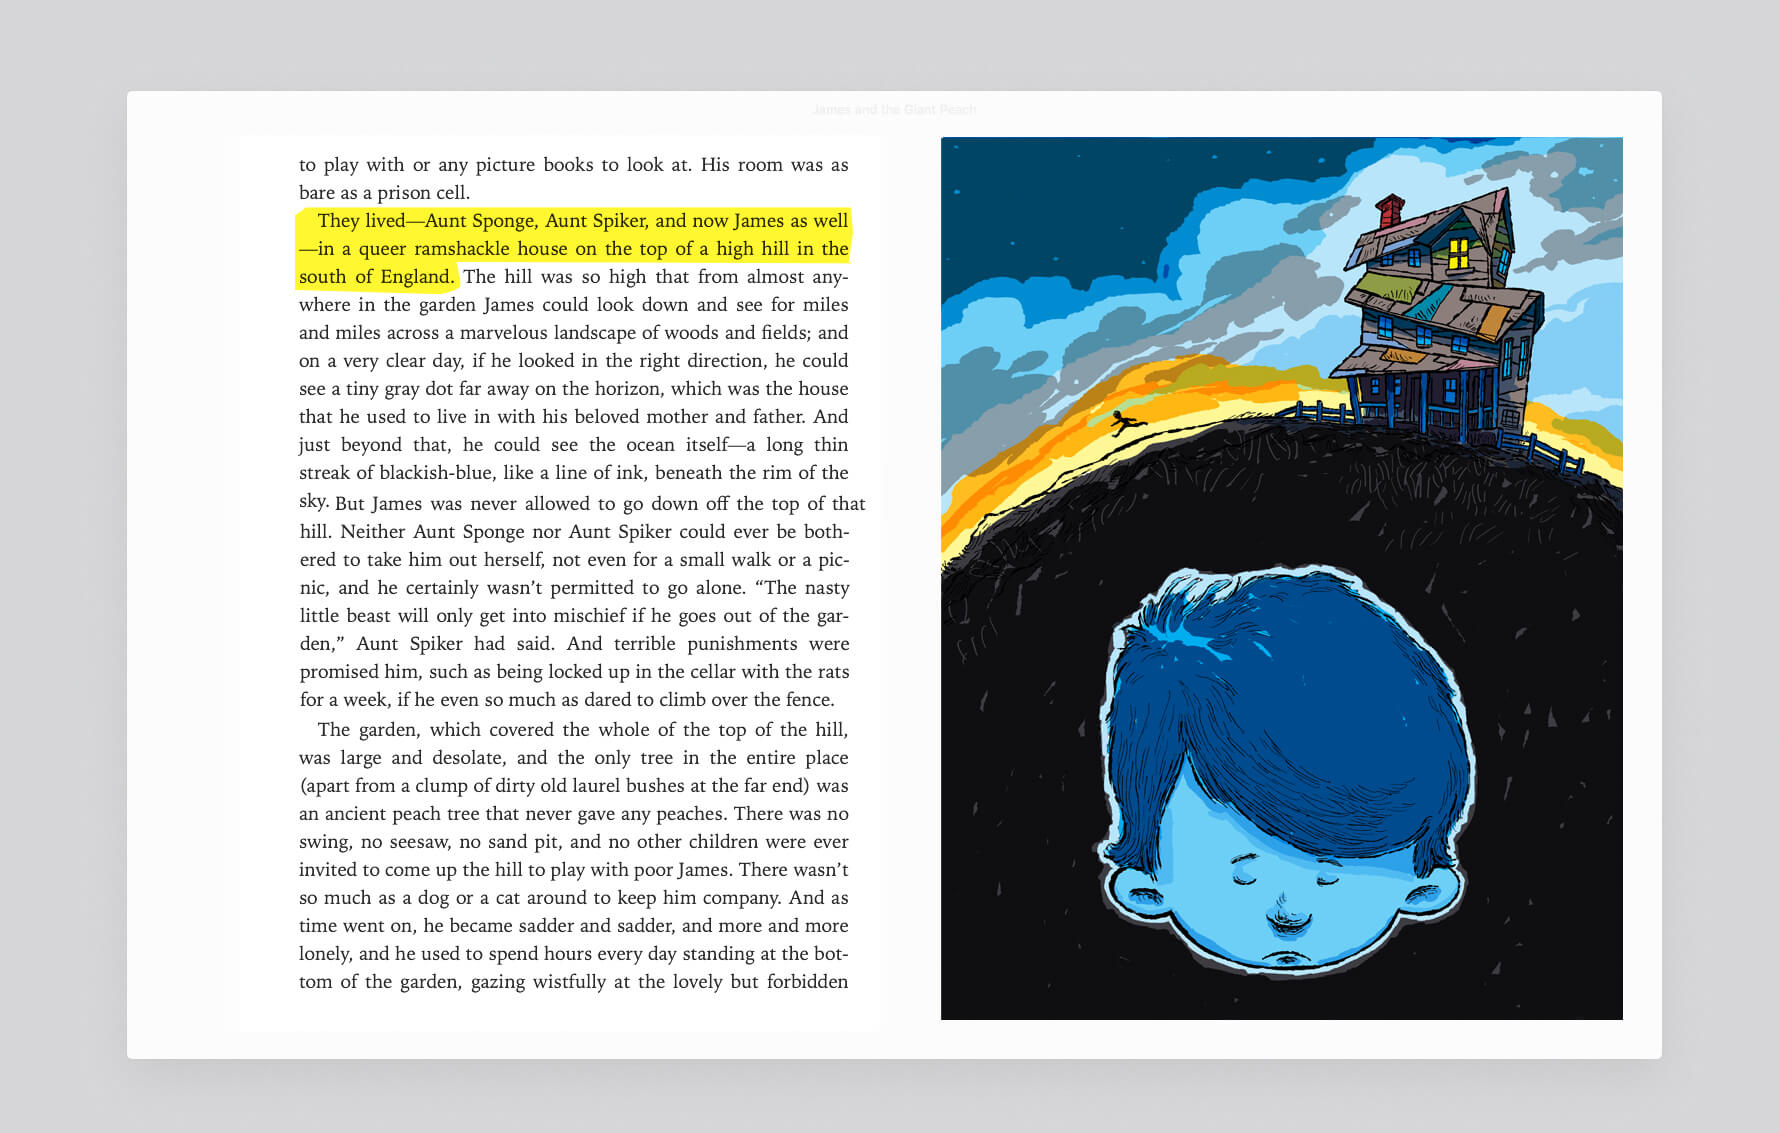
Step 5: Interior Colors
Color tests reference used for final artwork creation.
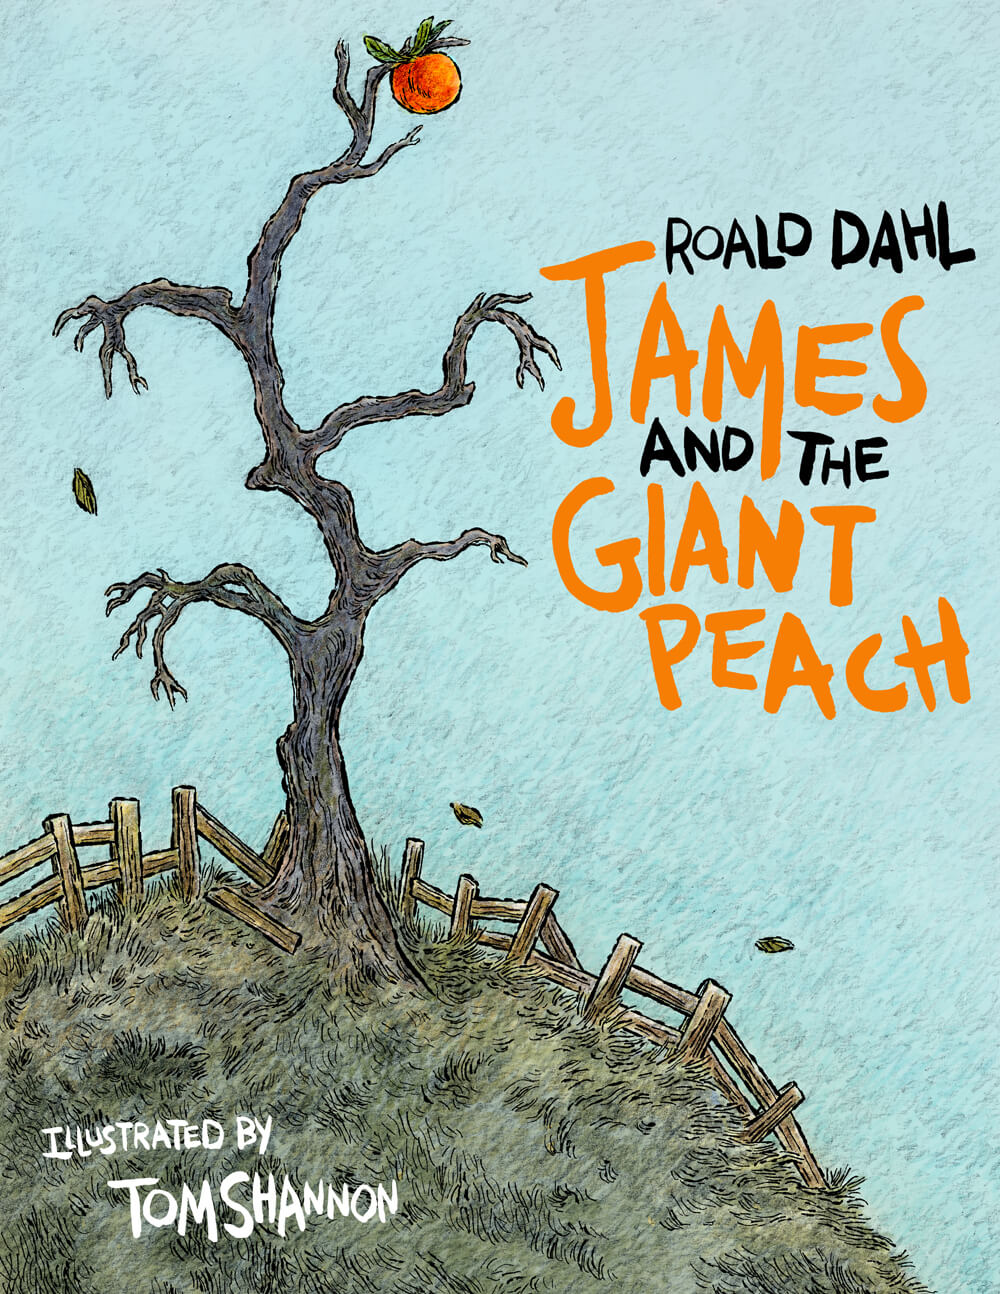
Step 6: Cover
When creating an illustration for the cover, there are two things I keep in mind:
1. Know my audience and make sure the cover illustration is simple and easy to understand. Even if the story is complex, the goal is to make sure that the illustrations reflect simplicity. The book cover will only have a split second to capture a bookstore shoppers attention.
2. Artwork should not only visually represent the story but it should also help set the tone for what kind of experience the reader will have with the book. Make sure that your illustrations feel like they fit in with the type of story being told—whether it's funny or sad, exciting or peaceful, etc., so that the reader can feel comfortable reading it and connecting with it.